
Cómo configurar una IP estática en un módem de puerta de enlace
Si tienes un módem de puerta de enlace como un C4000XG, sigue estas instrucciones para configurar una IP estática. Sigue estos pasos para configurar una IP estática a través de la configuración del usuario del módem.
Paso 1: ingresa en la GUI (configuración) de tu módem.
1. Conectá una computadora a tu red residencial, usando un cable Ethernet enchufado detrás de tu módem o conectándote a la red Wi-Fi.
2. Abre una ventana del navegador y escribe http://192.168.0.1 en el campo de la dirección web.
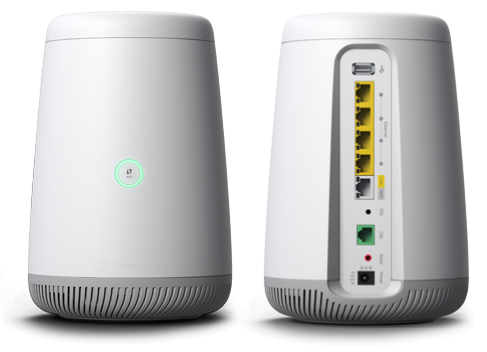
3. Ingresa en la GUI del módem (portal de configuración) usando el usuario de administrador y la contraseña de administrador. Estos datos están impresos en la etiqueta ubicada al costado o detrás de tu módem.

4. Selecciona el ícono Advanced Setup en el menú principal.

5. Selecciona WAN Settings en el menú lateral izquierdo.

6. Para el protocolo ISP, selecciona Auto Select en el menú desplegable y luego selecciona Apply.

7. Ahora selecciona LAN Subnets en la siguiente sección del menú lateral.

8. Elije un nombre para la subred LAN que deseas crear. El nombre de la subred LAN no puede contener espacios.

9. Selecciona las interfaces que desees asociar con la subred que estás agregando. La mayoría de los usuarios querrán seleccionar Ethernet 1, 2, 3 y 4.

10. Para IPv4 Addressing State y Modem IPv4 Admin Access, selecciona Enable.

11. Ingresa la dirección de red en Network Address, la máscara de subred en Subnet Mask y la dirección de la puerta de enlace en Gateway Address, proporcionadas en tu correo electrónico de confirmación de IP estática.

12. Selecciona Apply para guardar tus cambios.

¿Necesitas más ayuda? Chatea con nosotros aquí, en la aplicación o desde el portal de la cuenta. Si lo prefieres, llamar, es una opción.
Temas relacionados
-
Preguntas frecuentes sobre equipos -
Solución a problemas en el equipo -
Módem C4000XG -
Módem C3510XZ -
Módem C3000
Obtener la aplicación


Administra tu cuenta Quantum Fiber
¿Fue útil esta información?
Propiedad Intelectual de © 2026 AT&T. AT&T y el logotipo del globo terráqueo son marcas comerciales registradas de AT&T Intellectual Property. Todas las demás marcas son propiedad de sus respectivos dueños.


Propiedad Intelectual de © 2026 AT&T. AT&T y el logotipo del globo terráqueo son marcas comerciales registradas de AT&T Intellectual Property. Todas las demás marcas son propiedad de sus respectivos dueños.